2025 LEGO Sets: The Best, Coolest, And Most Talked-About Releases
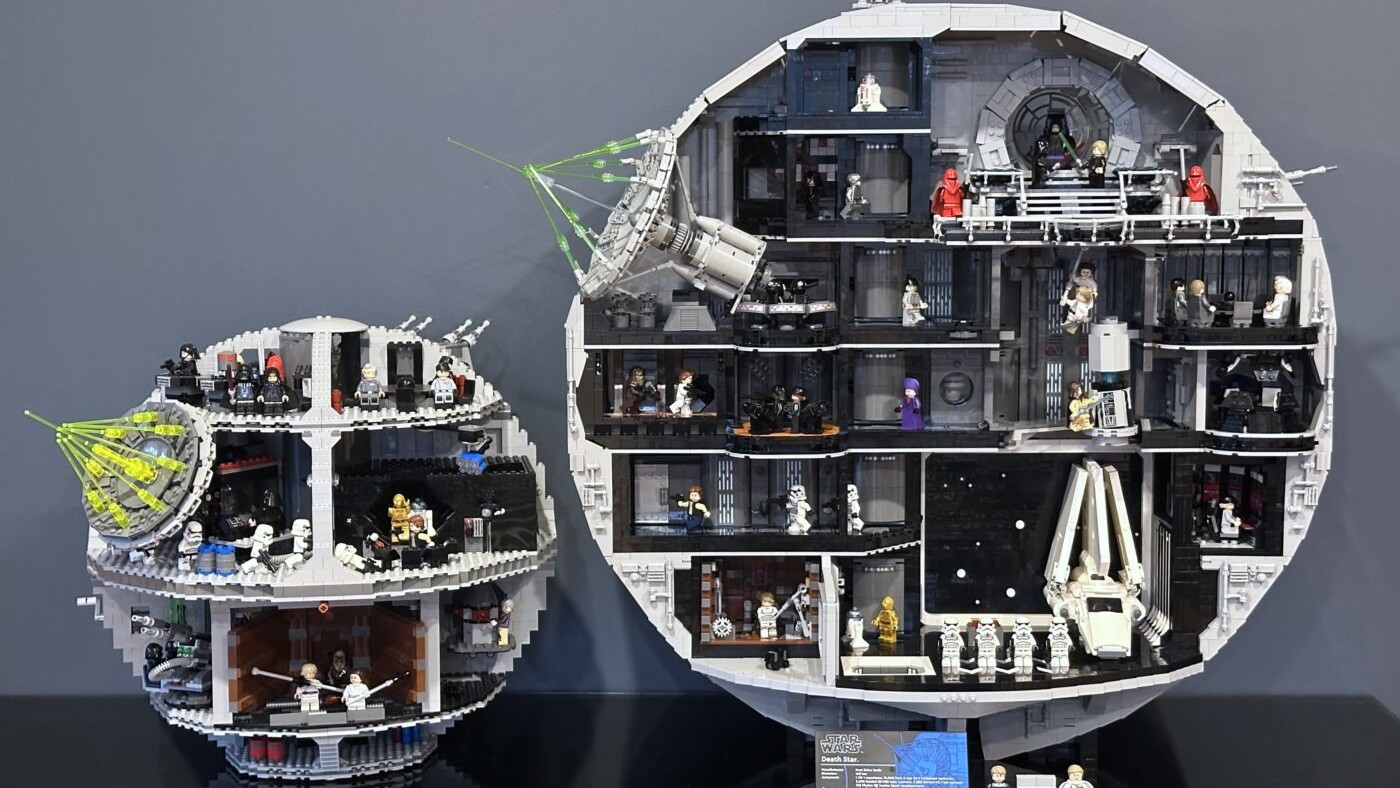
f you follow LEGO, 2025 was a big year. New licenses arrived, long-running themes leveled up, and we even got the priciest Star Wars model

LEGO bricks have been a source of endless creativity and imagination for generations, allowing builders to construct anything their minds can conceive. One way to take your LEGO creations to the next level is by customizing them with personalized stickers. Custom stickers add unique details, textures, and themes to your builds, making them truly one-of-a-kind. In this guide, we’ll explore the exciting world of customizing LEGO sets with custom stickers, providing you with tips, techniques, and inspiration to unleash your creativity.
Before diving into the customization process, it’s essential to plan your design. Consider the theme of your LEGO set and brainstorm ideas for stickers that will enhance its overall aesthetic. Think about colors, patterns, and symbols that align with your vision. Sketching your design on paper can help you visualize the final result and refine your ideas.
Paper Selecting the appropriate sticker paper is crucial for a successful customization project. Clear sticker paper and water-slide decal paper are popular choices. Clear sticker paper is adhesive on one side and can be directly applied to LEGO bricks, while water-slide decal paper requires a brief soaking in water before application.
Once you’ve finalized your designs, it’s time to transfer them onto the chosen sticker paper. Use graphic design software or online tools to create digital versions of your stickers. Ensure that the dimensions fit the LEGO pieces you plan to customize. Print a test sheet on regular paper to check the sizing before using the sticker paper.
With your printed stickers ready, carefully cut them out using scissors or a hobby knife. Precision is key, especially for intricate designs. Take your time to ensure clean edges and accurate shapes.
For clear sticker paper, carefully peel off the backing and apply the stickers directly to the LEGO bricks. Use tweezers to position the stickers accurately. For water-slide decals, soak the stickers in water for a few seconds until they release from the backing. Slide the decal onto the LEGO piece, adjusting its position as needed.
To protect your custom stickers from wear and tear, consider sealing them with a clear sealant. This step is particularly important for LEGO creations that may be handled frequently. Make sure the sealant is compatible with the sticker paper you’ve used and test it on a small area before applying it to the entire creation.
Customizing LEGO sets with custom stickers opens up a world of possibilities for personal expression and creativity. Whether you’re adding intricate details to a spaceship or giving your minifigures unique personalities, custom stickers are a fantastic way to make your LEGO creations stand out. Experiment with different designs, themes, and techniques to truly make your builds your own. Happy building!

f you follow LEGO, 2025 was a big year. New licenses arrived, long-running themes leveled up, and we even got the priciest Star Wars model

Silksong is a gorgeous, razor‑sharp Metroidvania that pushes hard and refuses to apologize. Hornet’s movement sings, the combat has bite, and Pharloom is a world

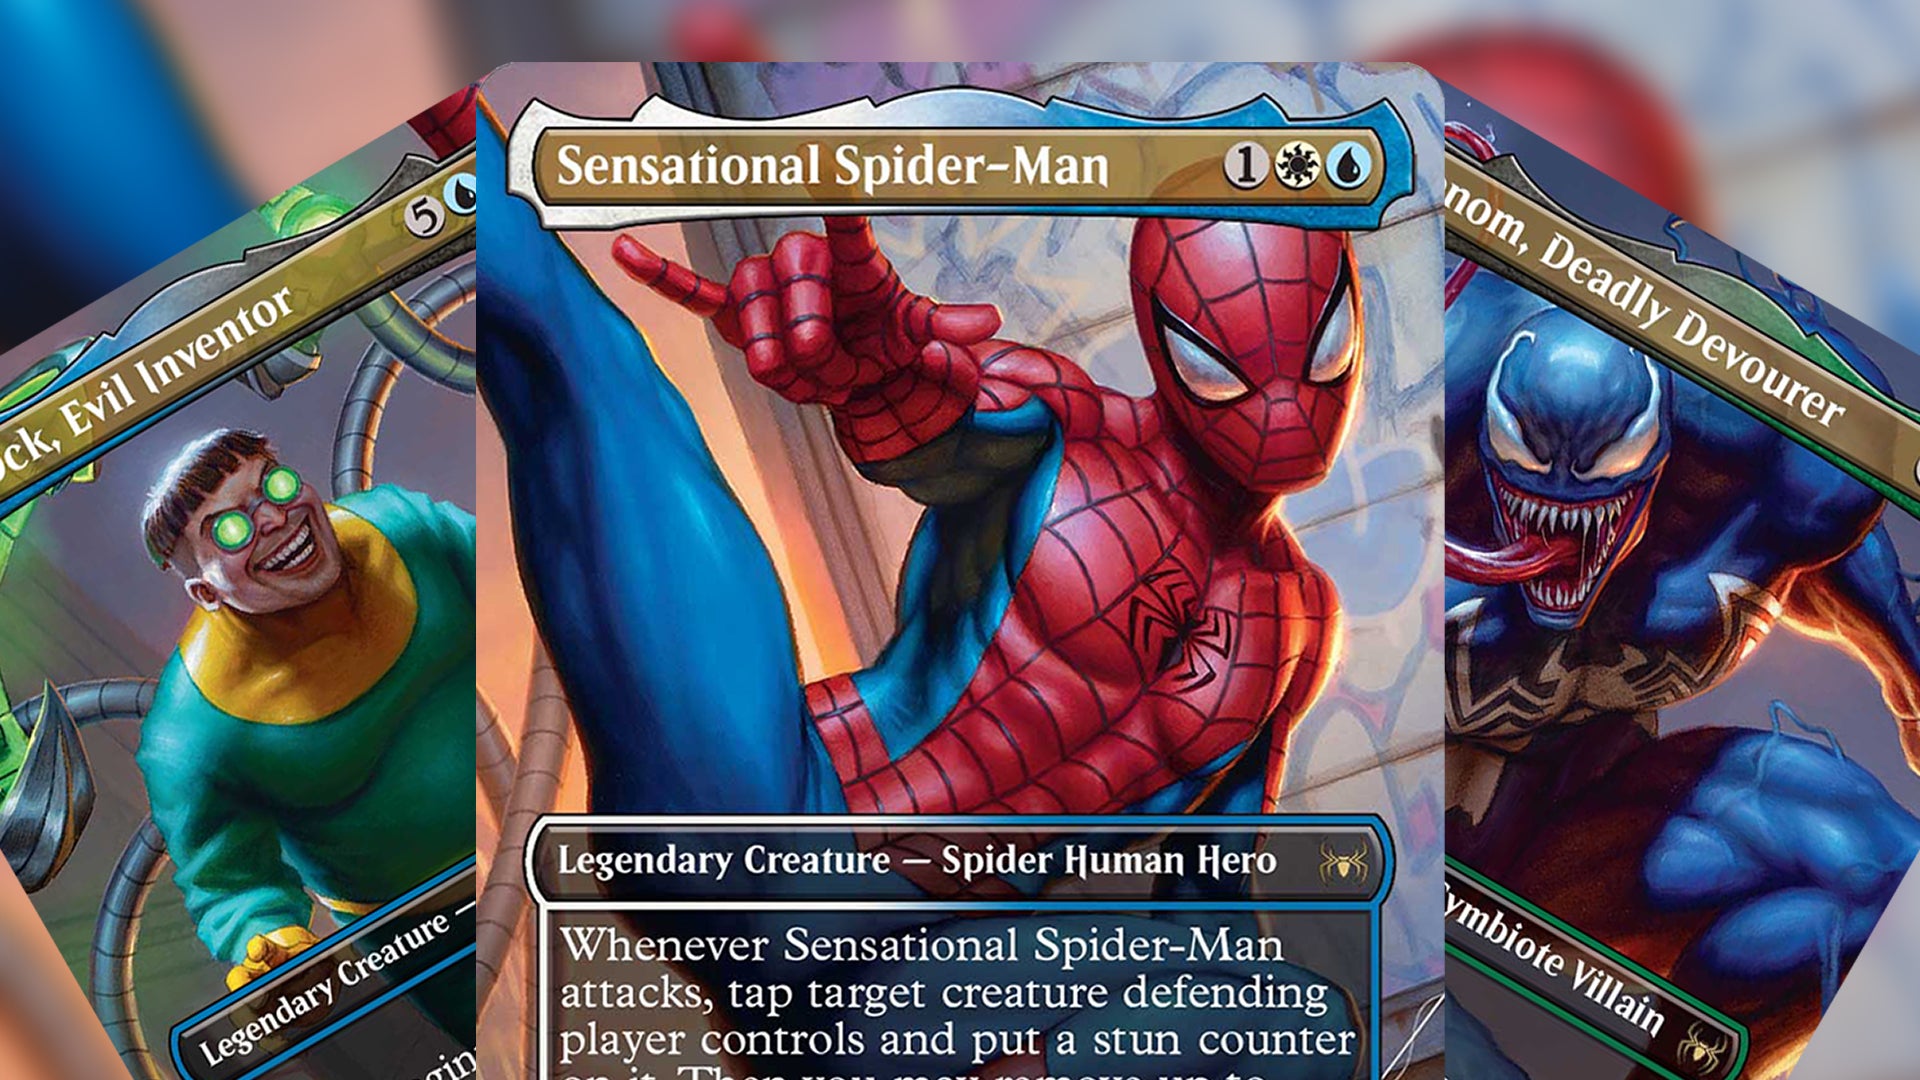
Collecting MTG cards vs collecting minifigures looks like two different worlds at first. Card sleeves and binders on one side. Studs and display cases on

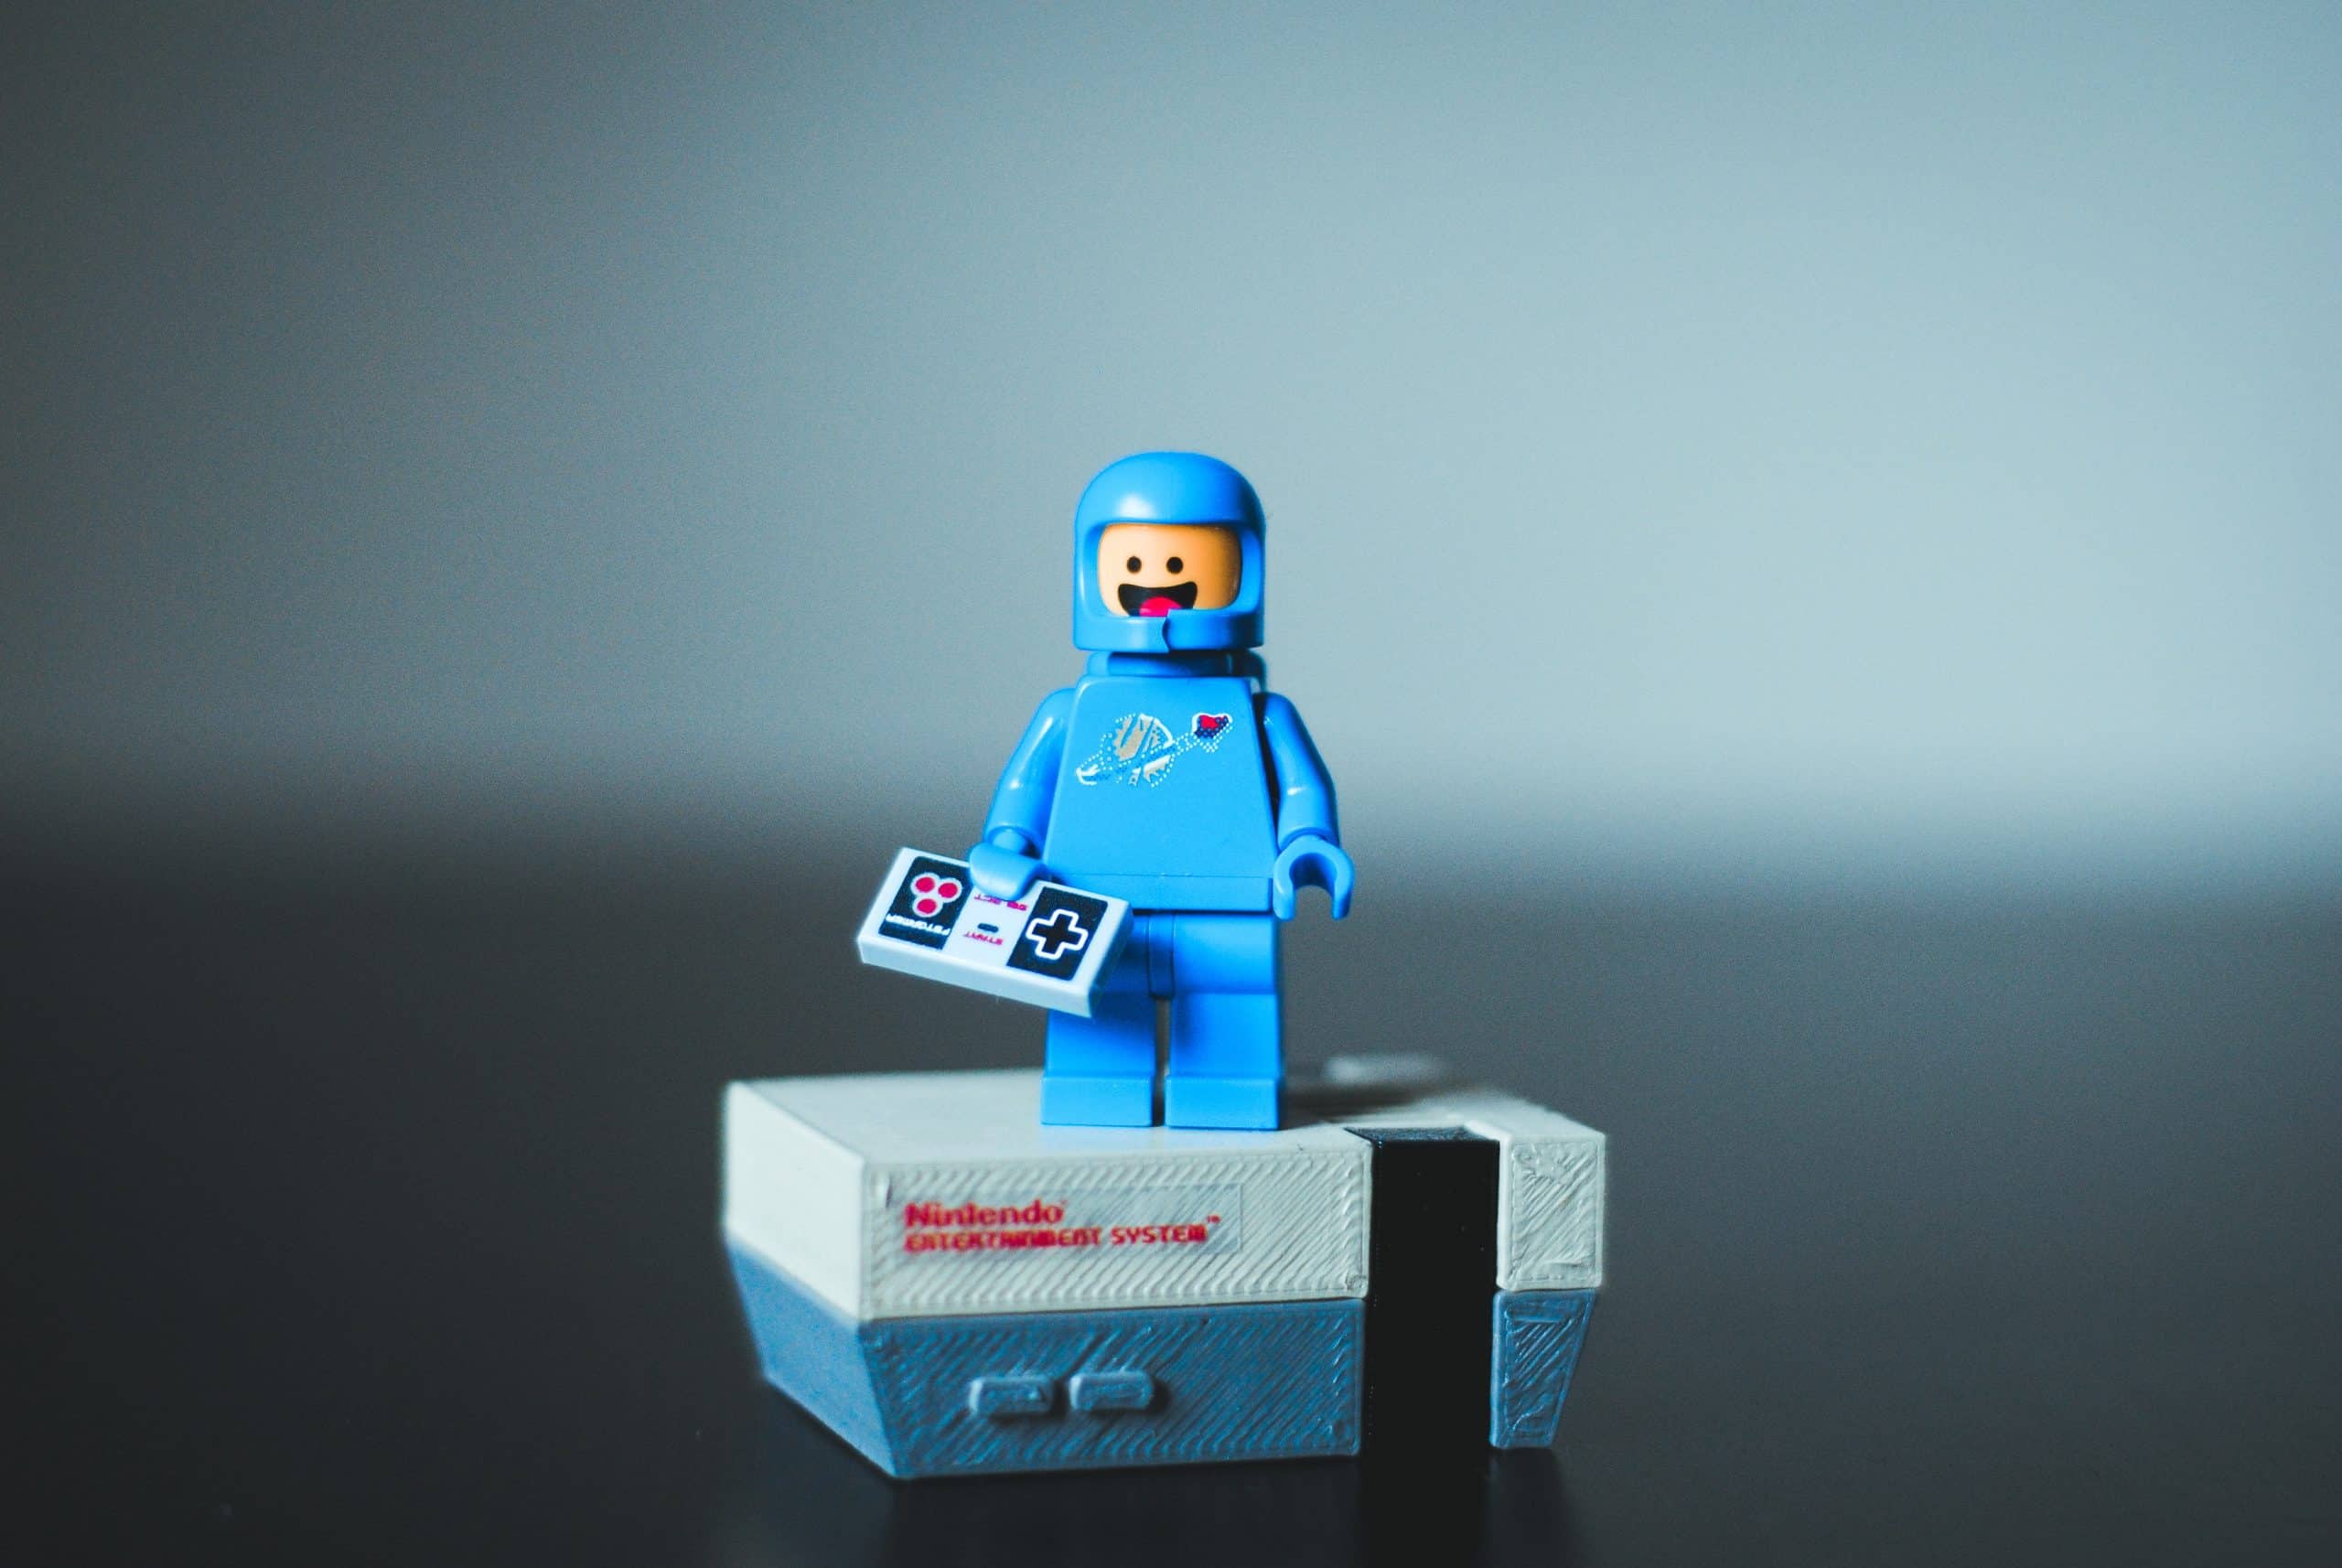
Some people carry a lucky coin. Some keep a pebble from a good trip. More and more of us carry a tiny plastic friend. A