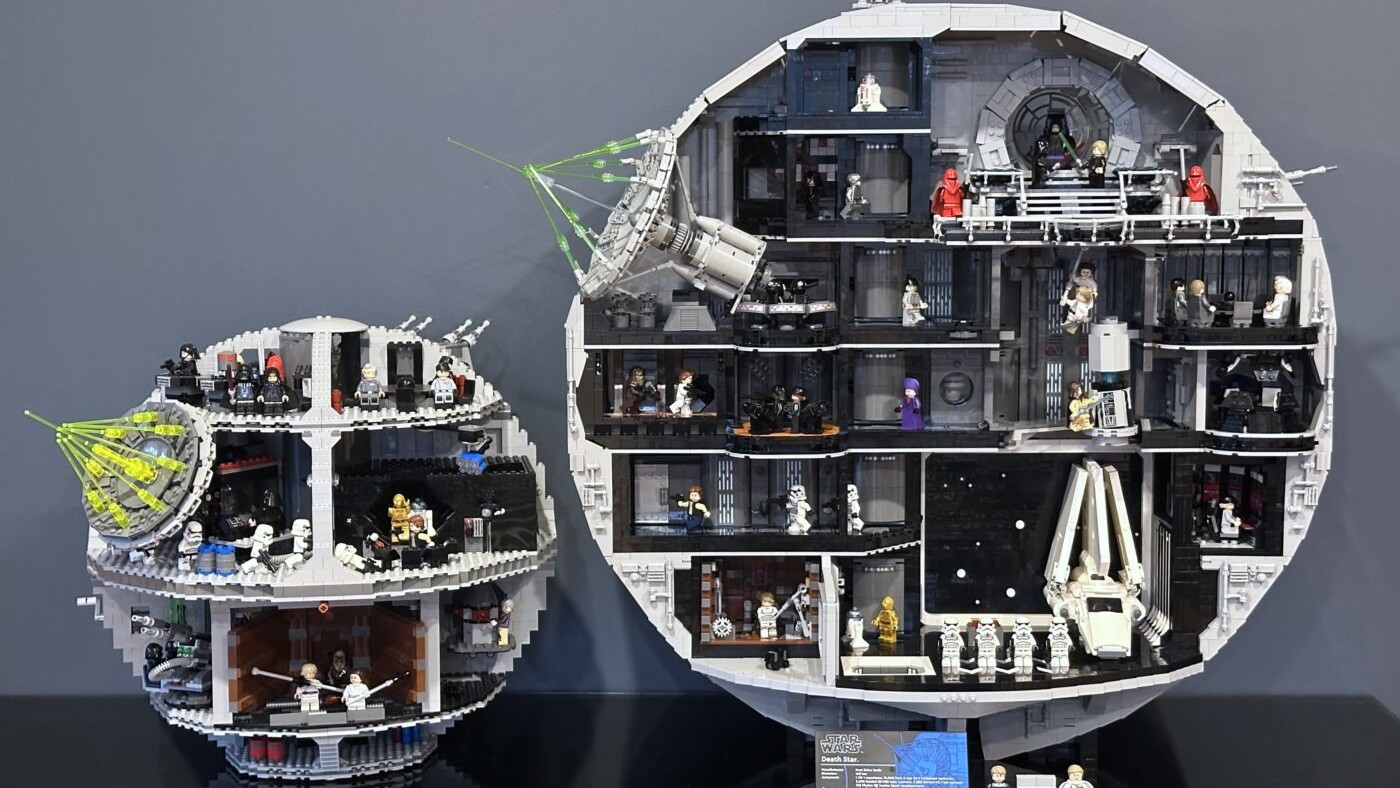
2025 LEGO Sets: The Best, Coolest, And Most Talked-About Releases
f you follow LEGO, 2025 was a big year. New licenses arrived, long-running themes leveled up, and we even got the priciest Star Wars model
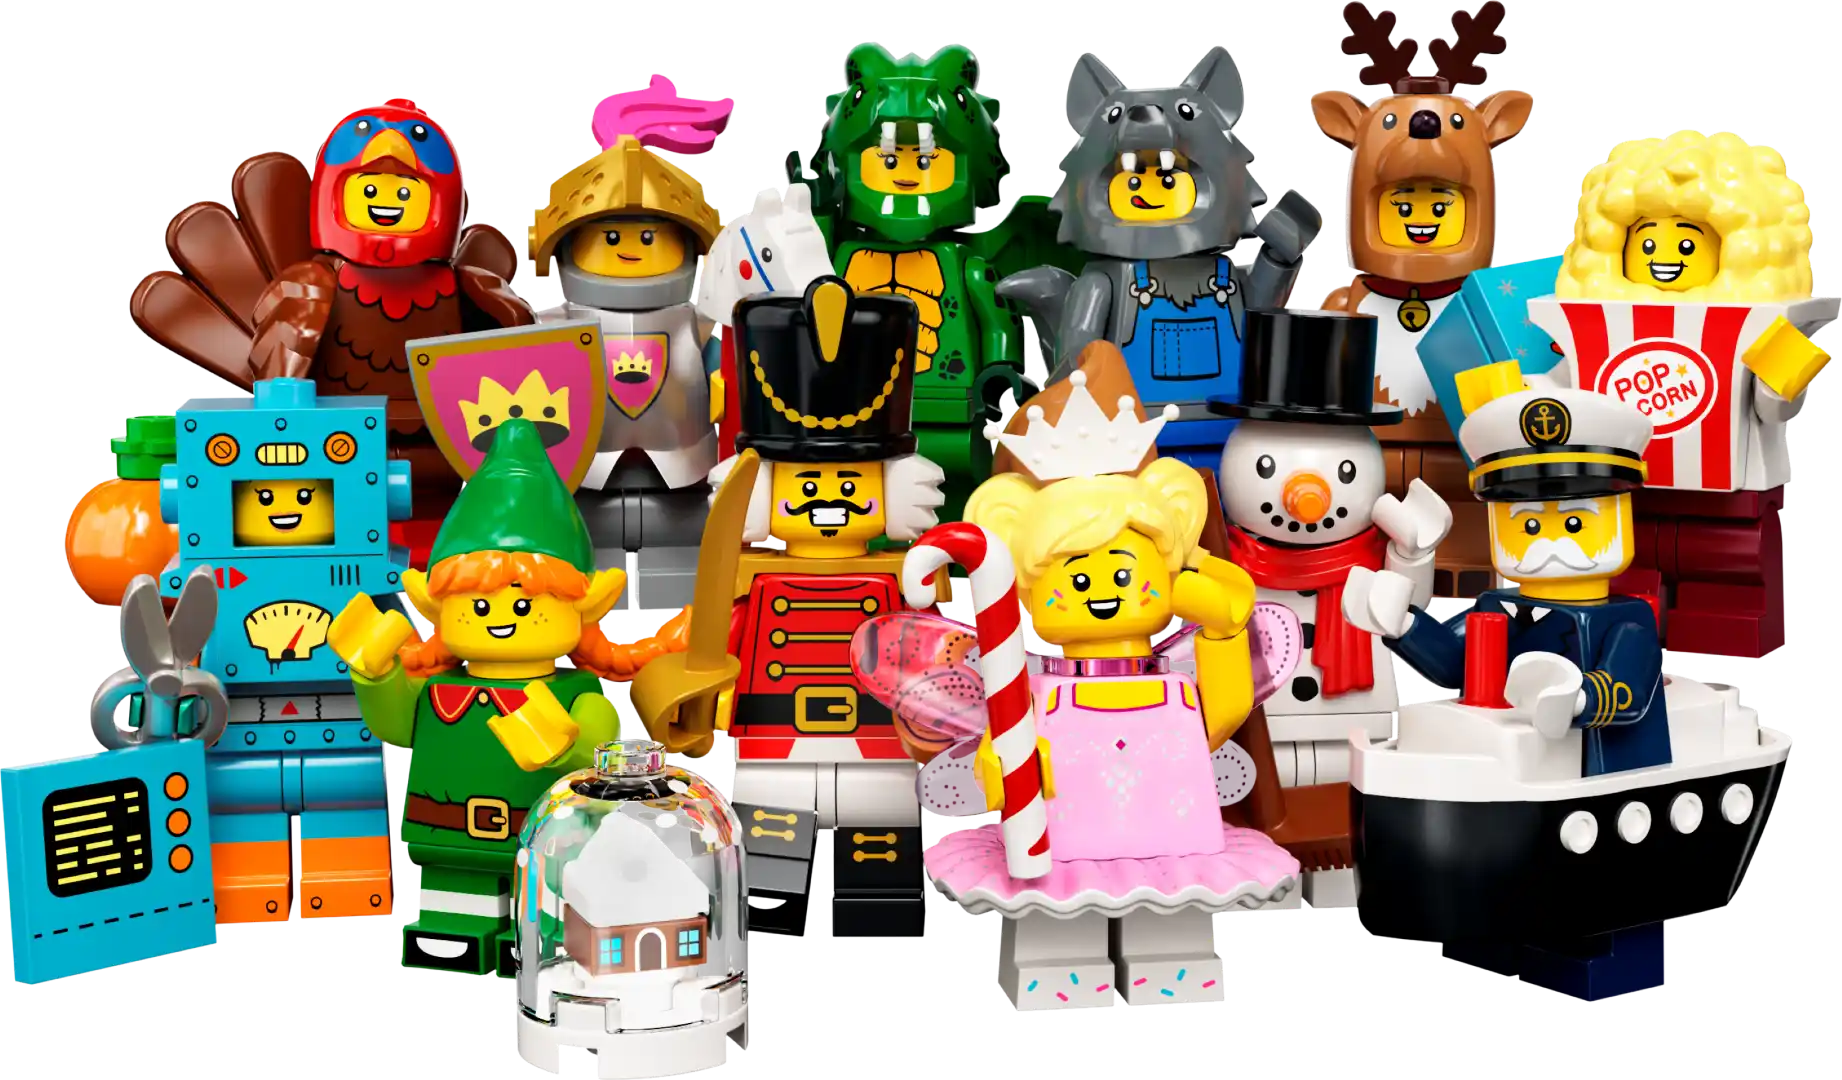
There’s something satisfying about building a unique character from a few simple bricks. Maybe you want a figure that looks like your favorite video game hero, or you’ve got a wild idea for a time-traveling knight with a steampunk arm. With a bit of creativity and patience, you can turn your plain minifig into a small work of art. Customizing minifigures gives you control over every detail, from the color of the helmet to the emblem on the chest. It might seem tricky at first, but once you try it, you’ll realize it’s not that complicated.
You don’t need fancy equipment to get started. Some people already have half the stuff they need lying around. A couple of paintbrushes, a palette of acrylic paints, and a few toothpicks can go a long way. Decals are also popular, and you can either buy them pre-made or print your own using special paper. Tweezers help a lot when you’re trying to place tiny stickers. If you’re feeling more ambitious, you might experiment with sculpting clay or even 3D-printed parts. But let’s not overcomplicate things. A small brush and some paint can be enough to transform an ordinary torso into something that looks totally different.
Before you start painting or sticking decals, it helps to have a rough sketch or mental picture of your goal. Think about the colors you want and the story you’d like your figure to tell. Some folks like to base their designs on characters they already know, like comic book heroes or medieval knights. Others prefer to create original figures that blend different genres. I once made a futuristic samurai by mixing armor pieces and a robotic arm. It’s also okay to jump in without a plan, but you might waste time changing your mind halfway through, especially if you’ve already applied paint. A little planning can save you a headache or two.
Painting your minifigure can be fun, though it takes a steady hand. Here’s how it works:
Some people suggest sealing your paint job with a clear sealant. That’s optional, but it does protect your design from chipping. If you mess up, don’t panic. Acrylic paint can be wiped off with rubbing alcohol if you catch it early enough. Mistakes happen, and that’s how you learn. Print a Magic Deck.
If hand-painting isn’t your thing, decals might be a better option. They let you print almost any design you want, from intricate logos to tiny text. You just need special decal paper, a printer, and some patience. Here’s a tip: print test sheets in black and white on regular paper first, so you don’t waste the pricier decal paper on small errors. After you cut out the decal, you can soak it in water to release the backing, then carefully slide it onto your figure. It might feel like performing surgery on a flea, but the results are neat once you’ve done it a few times. Just remember to keep tweezers nearby, because your fingers can smudge the ink.
Sometimes you want a piece that doesn’t exist in any set. That’s where sculpting and 3D printing come into play. Sculpting clay can be molded onto a torso or helmet to add details like fur trim or horns. Then you bake it according to the clay’s instructions, let it cool, and paint it. 3D printing is another level entirely. You can design a part on your computer, print it out, then paint it however you like. That might be overkill for beginners, but it opens up possibilities you won’t get from standard parts. If you’re impatient or new to 3D design, you might look for premade .stl files online.
Sometimes the little details make all the difference. Maybe you’ll paint battle scars on the armor or add a tiny chain around the figure’s neck. Be careful not to overload your design, though. There’s a balance between creative flair and cluttered chaos. Once you’re happy with the look, do a final check to see if any paint is still tacky. You don’t want fingerprints ruining your work. If everything looks good, assemble your figure and see how it stands. Does it feel sturdy? Do the arms move smoothly, or did paint gunk up the joints? If there’s a stiff joint, you can carefully scrape away dried paint with a toothpick.
Everyone makes mistakes when customizing. I’ve dropped a wet figure on the floor, smearing paint all over the place, and I’ve used colors that looked terrible in real life. You learn from these moments. There’s always another minifigure to experiment on, and sometimes the best lessons come from messing up. If you botch a paint job, you can remove it and start again, or just embrace the flawed look if it somehow works in your story.
Customizing minifigures isn’t about having the perfect skills from day one. It’s about trying something new, pushing your creativity, and taking pride in a small figure that feels uniquely yours. The process can be slow, and you may end up with paint-stained fingers. But if you stick with it, you’ll see how rewarding it is to hold a minifigure that nobody else in the world has. And who knows—you might get hooked and start crafting an entire army of custom characters. Enjoy the process, be patient, and remember that sometimes the “mistakes” become the best part of the figure’s story.

f you follow LEGO, 2025 was a big year. New licenses arrived, long-running themes leveled up, and we even got the priciest Star Wars model

Silksong is a gorgeous, razor‑sharp Metroidvania that pushes hard and refuses to apologize. Hornet’s movement sings, the combat has bite, and Pharloom is a world
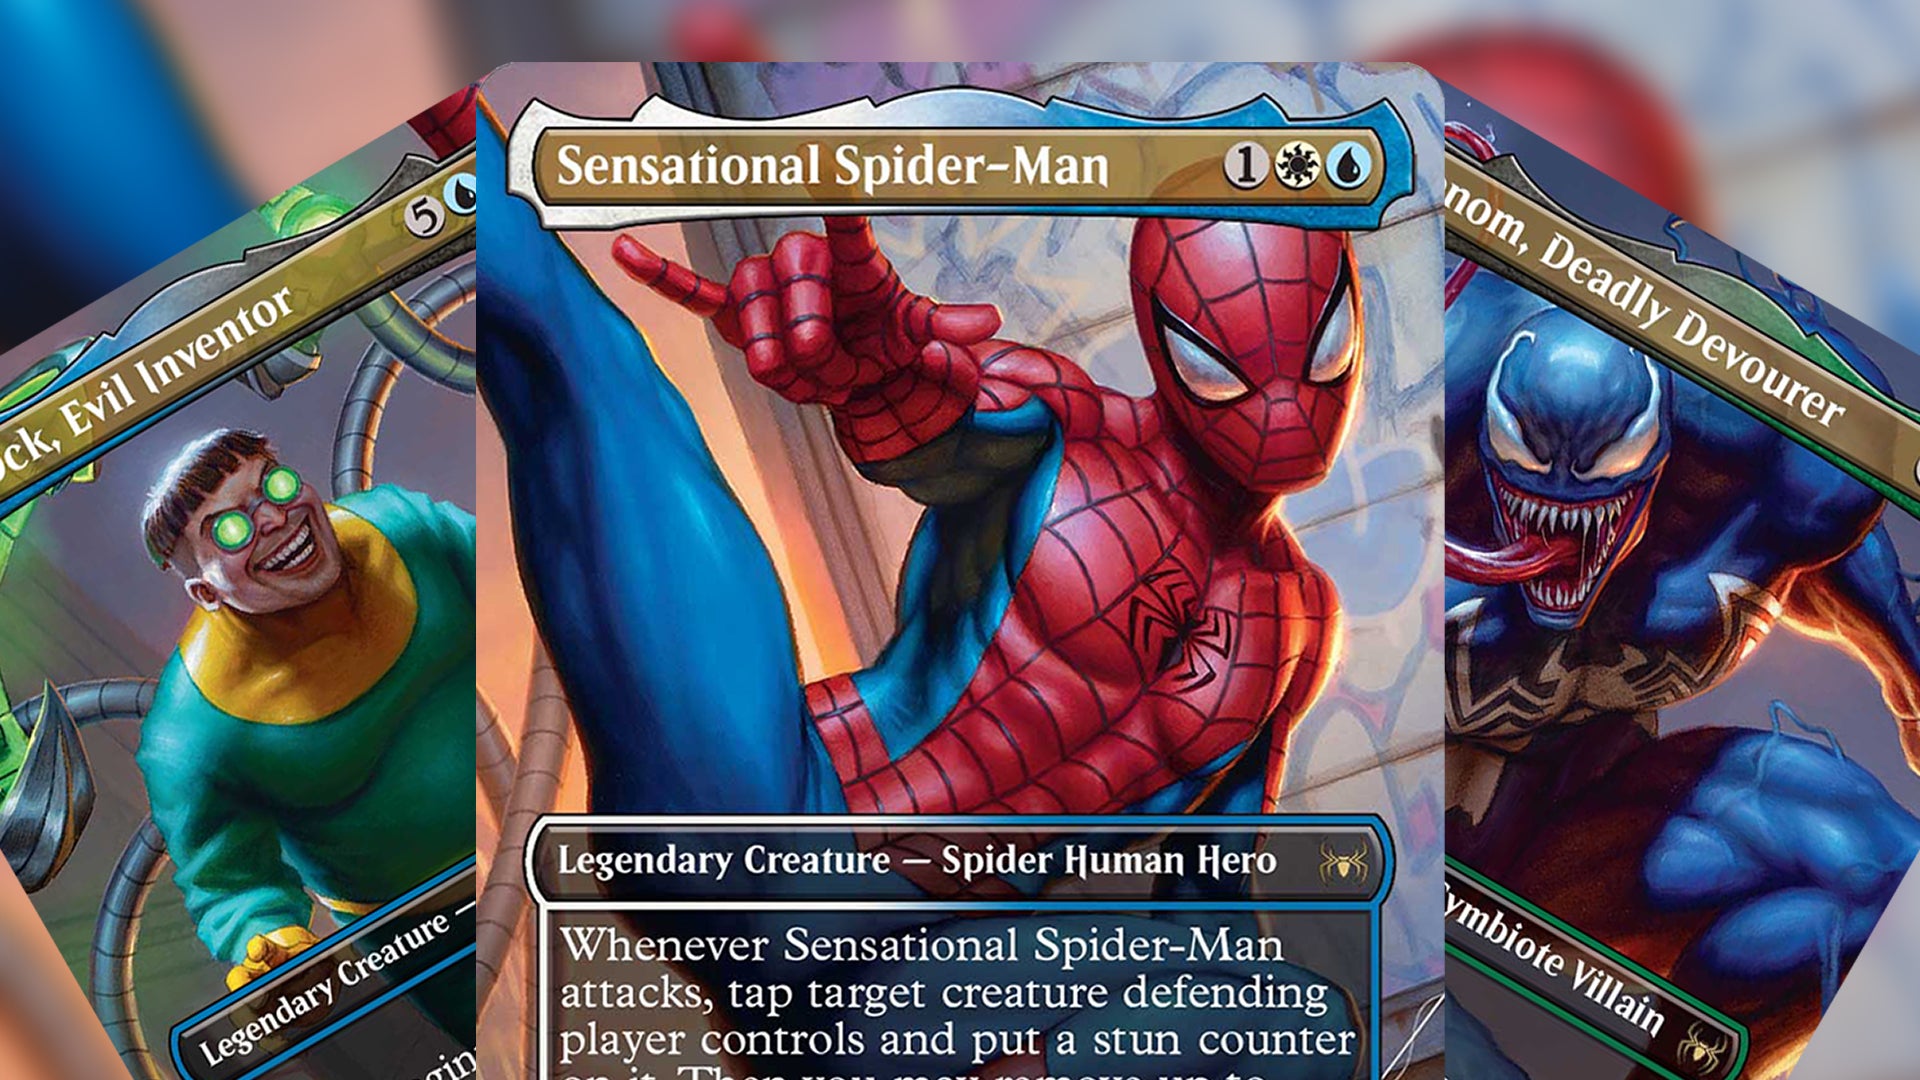
Collecting MTG cards vs collecting minifigures looks like two different worlds at first. Card sleeves and binders on one side. Studs and display cases on
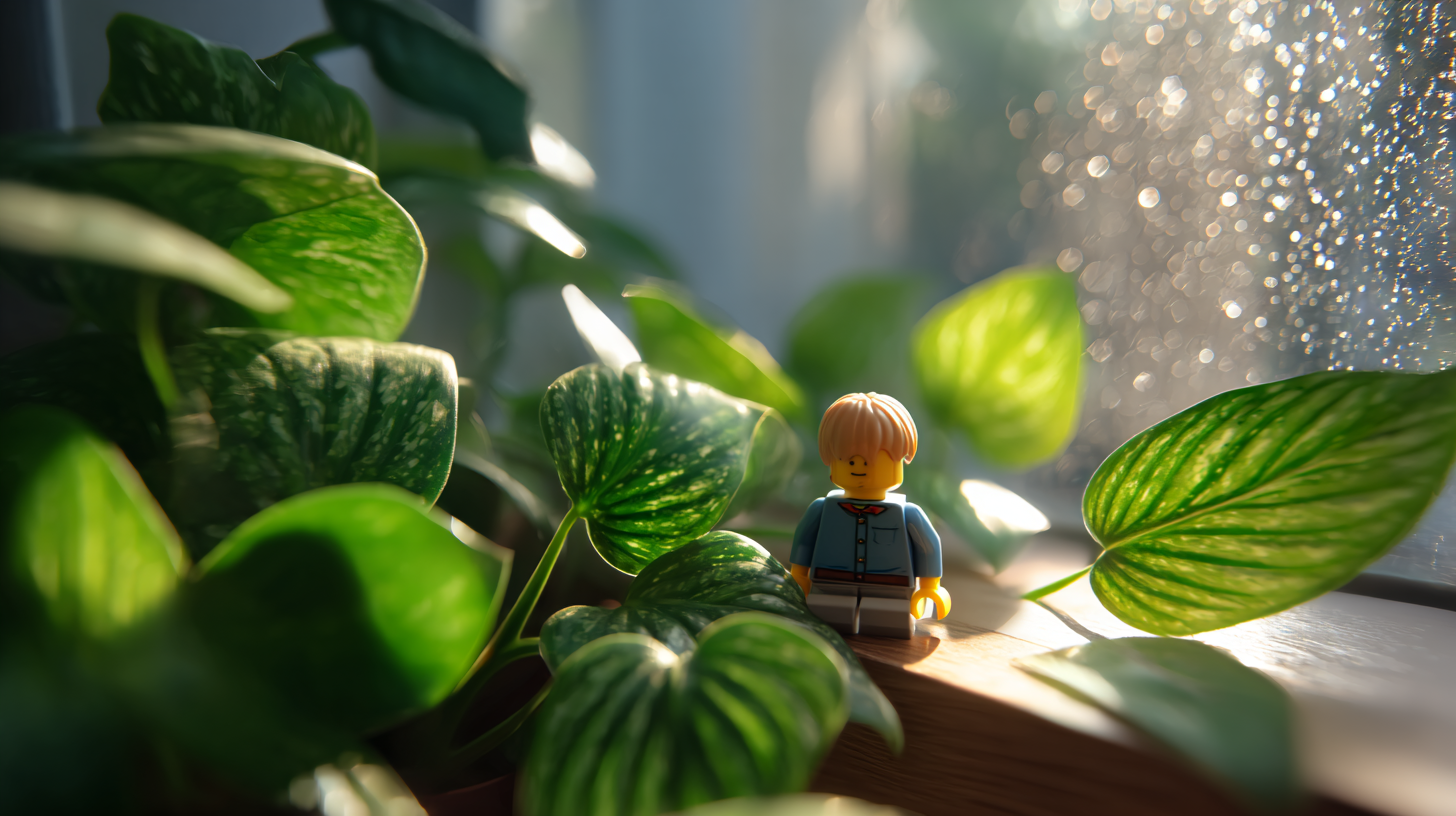
Some people carry a lucky coin. Some keep a pebble from a good trip. More and more of us carry a tiny plastic friend. A