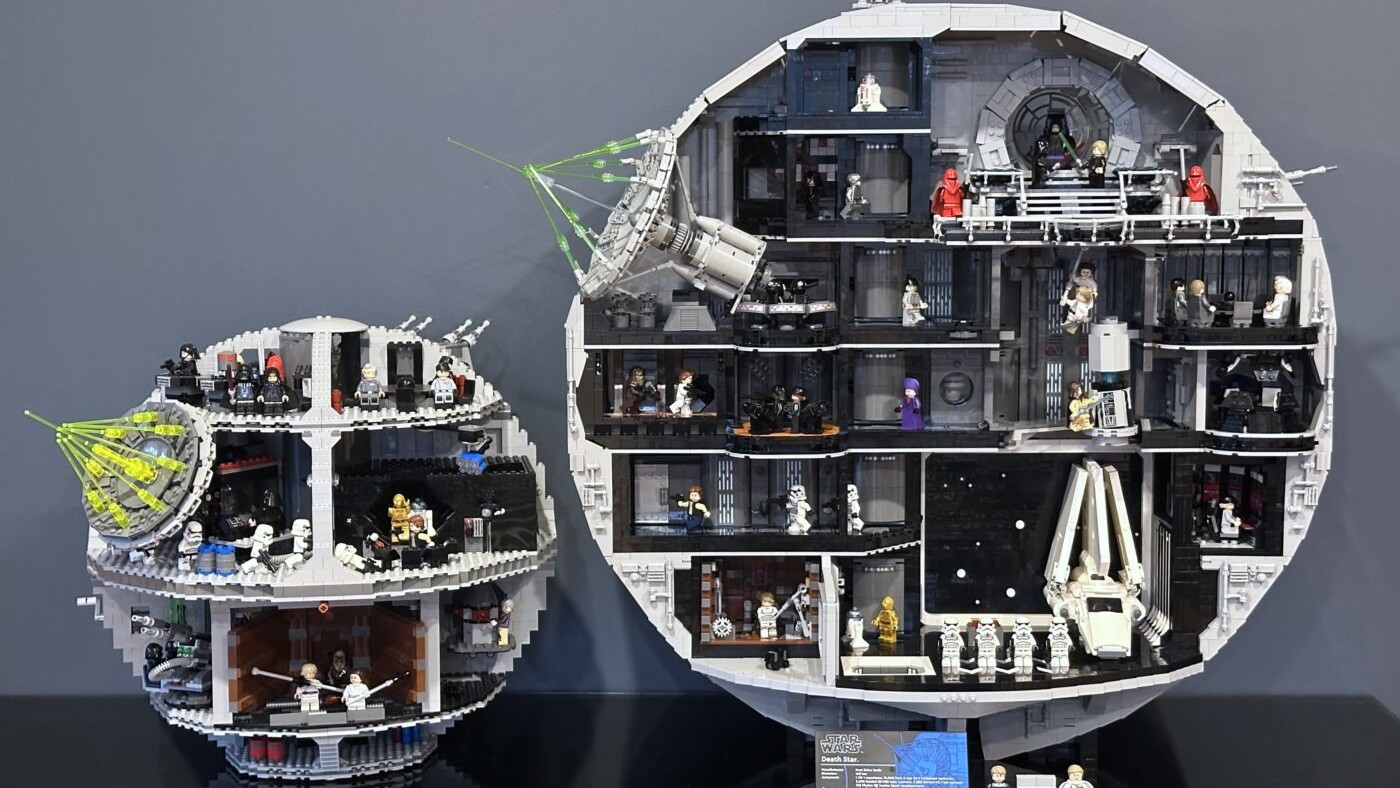
2025 LEGO Sets: The Best, Coolest, And Most Talked-About Releases
f you follow LEGO, 2025 was a big year. New licenses arrived, long-running themes leveled up, and we even got the priciest Star Wars model
Stop-motion animation is a great way to express creativity and showcase stories with the help of simple tools. LEGO bricks have been a favorite medium for many aspiring animators, owing to their versatile nature and wide range of shapes and colors. If you’re looking to create stop-motion animation using LEGO, then you’ve come to the right place. In this step-by-step guide, we’ll take you through the process of making a LEGO stop-motion animation.
Before you begin animating, you need to have a clear idea of the story you want to tell. Think about the characters, setting, and plot of your animation. Once you have a basic idea, create a storyboard, which is a sequence of drawings that map out your story. This will help you visualize your animation and keep you organized throughout the process. You can use pencil and paper or digital software to create your storyboard.
To create your LEGO stop-motion animation, you’ll need a few things:

With your storyboard in hand, it’s time to build your sets and characters. Use your LEGO bricks to create the environments and props you need for each scene. Pay attention to details like lighting, color, and texture to create a realistic setting. You can also use LEGO figures to represent your characters. Customize them by swapping out their heads, hair, and accessories to create different looks.
Place your camera on the tripod and adjust it so that it’s level with your set. Make sure your camera is in focus and that it’s not too close to the set. You’ll need to move it incrementally between each shot, so leave enough space for this movement.
Now it’s time to start animating. Move your LEGO figures and props incrementally and take a photo after each movement. Make sure your camera is stable, and your lighting is consistent throughout the animation. You can use the onion skinning feature in your camera software to compare each frame with the previous one to ensure smooth movement.
Once you’ve finished animating, import your photos into a video editing software. You can use a free tool like iMovie or Windows Movie Maker or a professional tool like Adobe Premiere Pro or Final Cut Pro. Arrange your photos in the order of your storyboard and adjust the timing between each shot. You can also add sound effects and music to enhance your animation.
Congratulations! You’ve made a LEGO stop-motion animation. Now it’s time to share it with the world. and Share it on social media and encourage your friends and family to watch and share it too.
Here are some additional tips and tricks to help you make your LEGO stop-motion animation even better:
By following these tips and tricks, you can take your LEGO stop-motion animation to the next level. So grab your LEGO bricks and camera, and let your imagination run wild. Who knows, you may even inspire the next generation of LEGO stop-motion animators.
Creating a stop-motion animation with LEGO can be a fun and rewarding experience. With a little planning and creativity, you can bring your stories to life using the colorful world of LEGO bricks. Follow these steps, and you’ll be on your way to creating your very own LEGO stop-motion animation.

f you follow LEGO, 2025 was a big year. New licenses arrived, long-running themes leveled up, and we even got the priciest Star Wars model

Silksong is a gorgeous, razor‑sharp Metroidvania that pushes hard and refuses to apologize. Hornet’s movement sings, the combat has bite, and Pharloom is a world
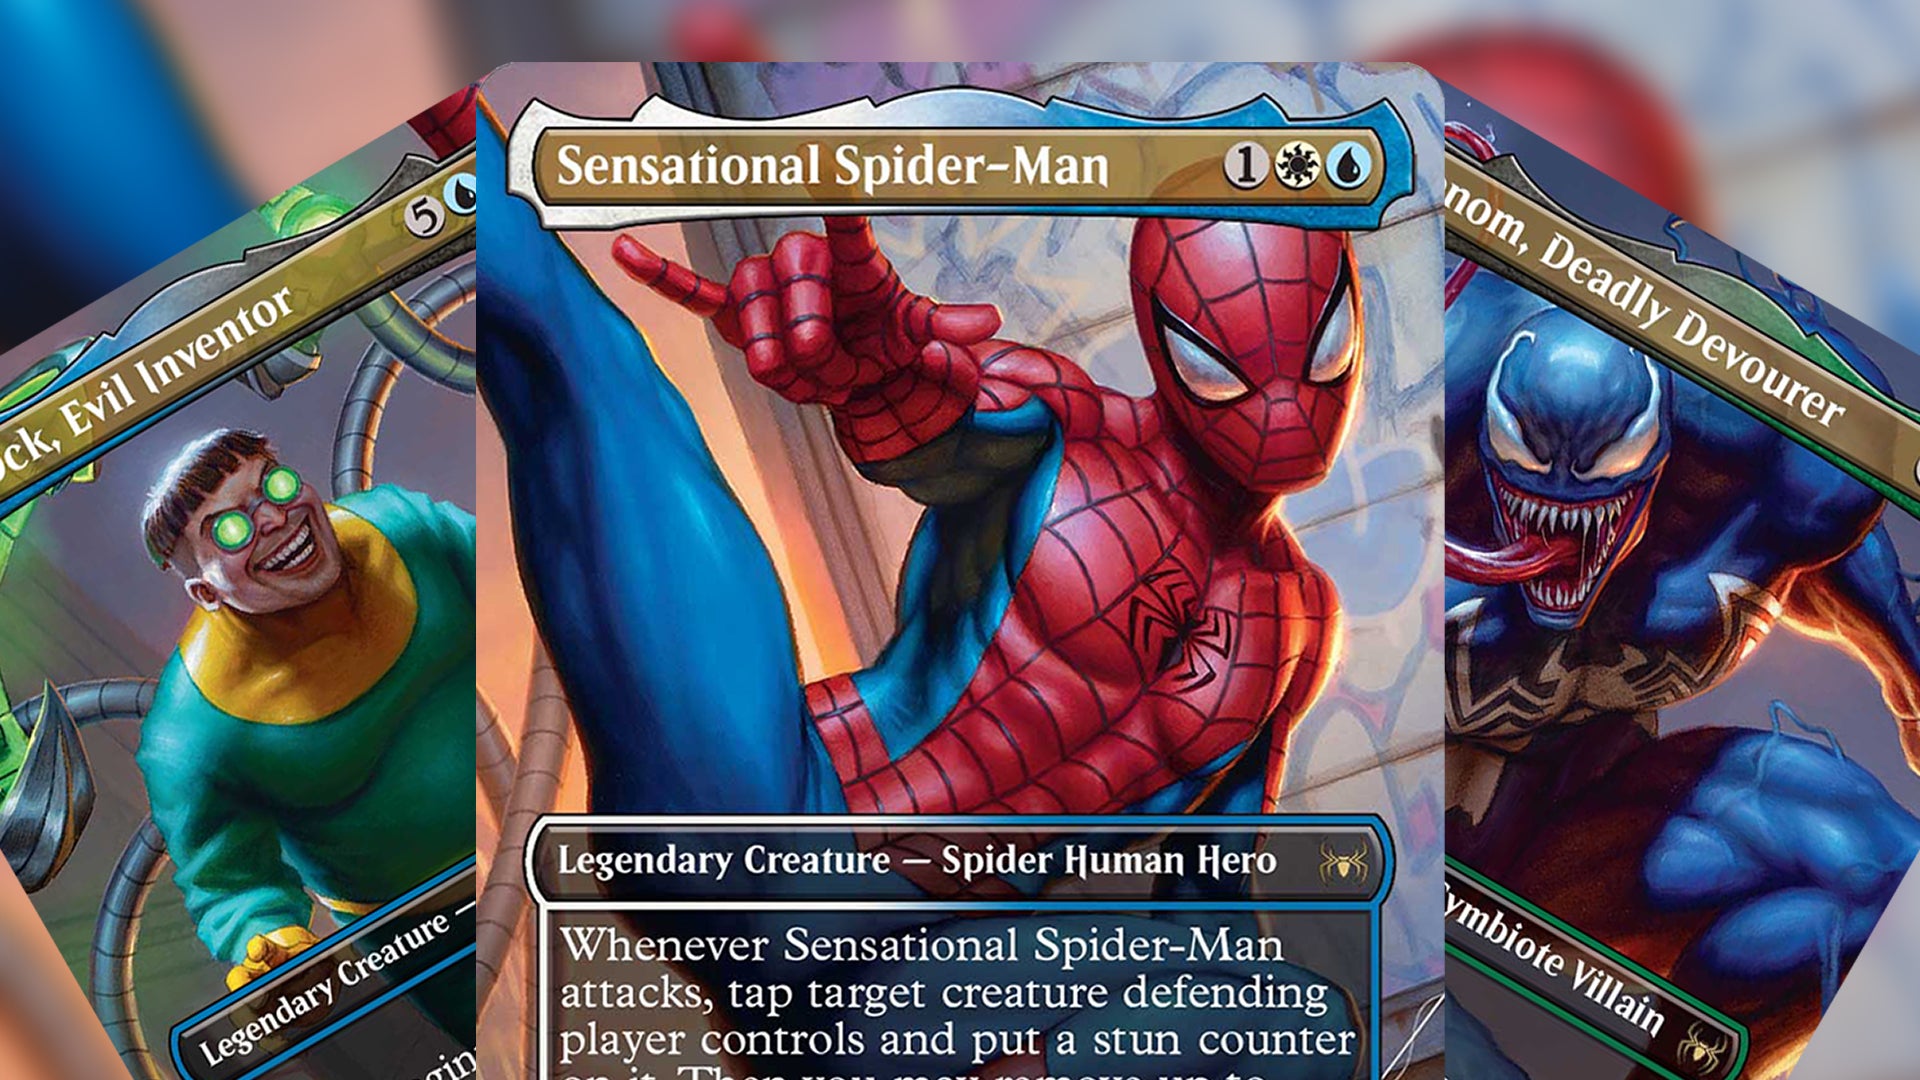
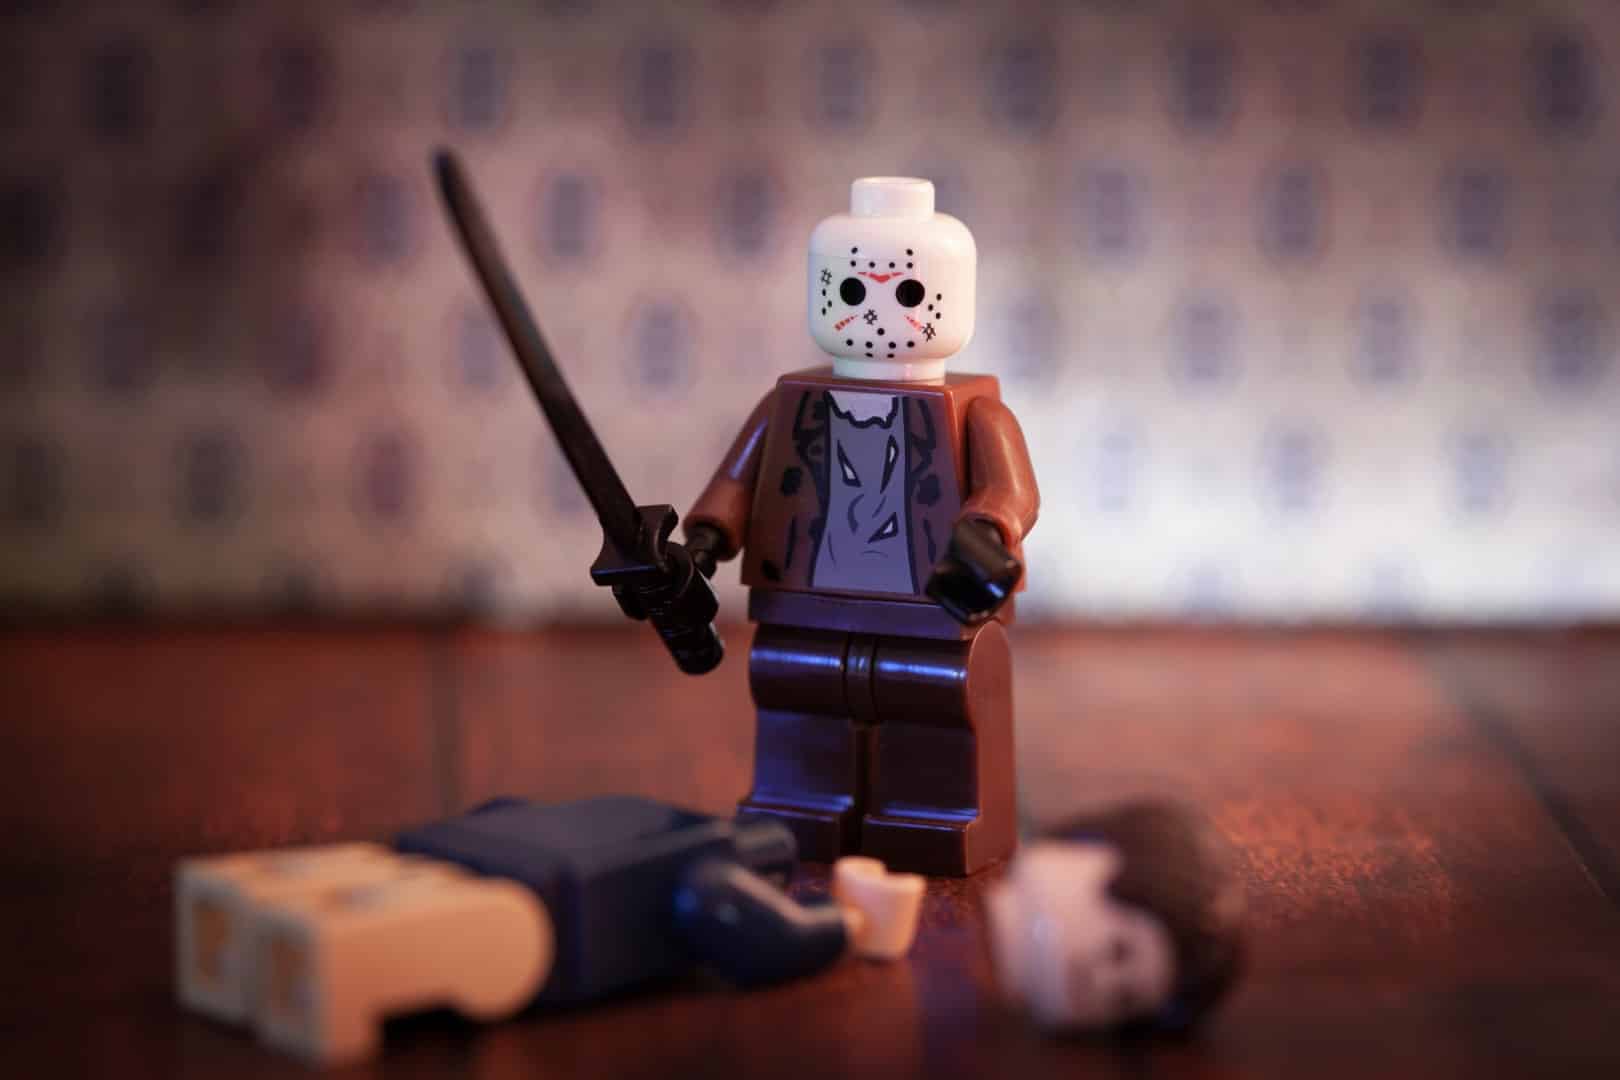
Collecting MTG cards vs collecting minifigures looks like two different worlds at first. Card sleeves and binders on one side. Studs and display cases on
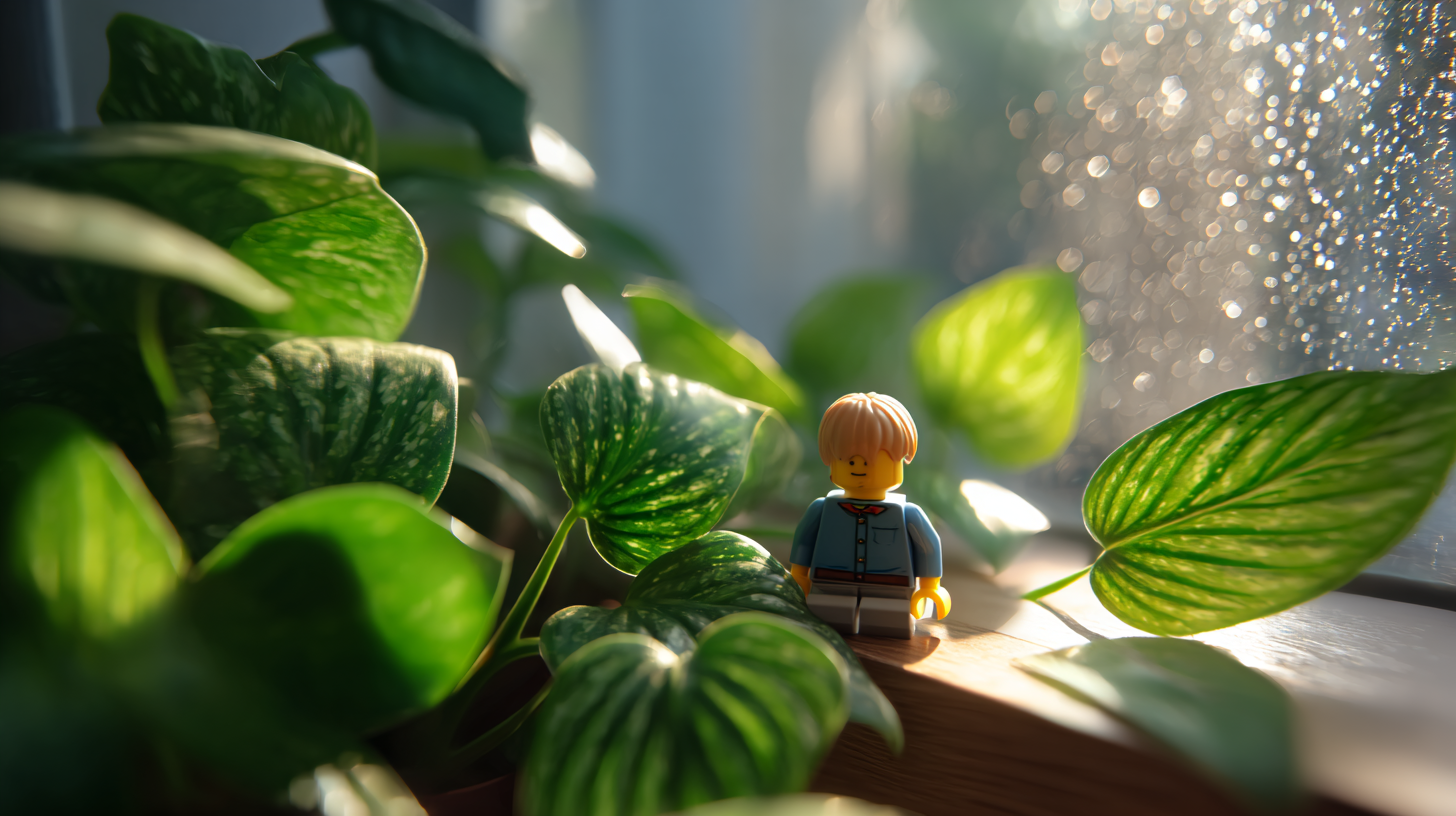
Some people carry a lucky coin. Some keep a pebble from a good trip. More and more of us carry a tiny plastic friend. A