2025 LEGO Sets: The Best, Coolest, And Most Talked-About Releases
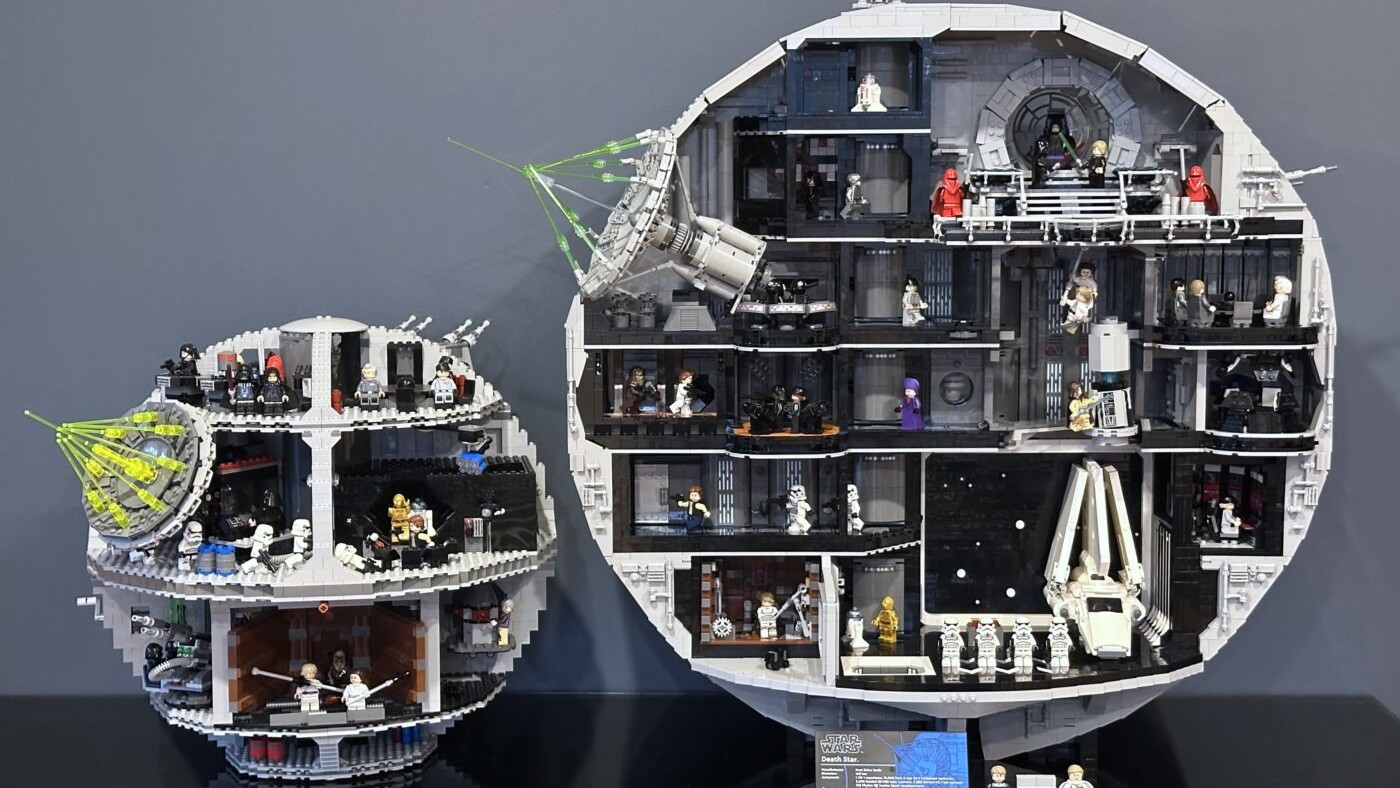
f you follow LEGO, 2025 was a big year. New licenses arrived, long-running themes leveled up, and we even got the priciest Star Wars model

f you follow LEGO, 2025 was a big year. New licenses arrived, long-running themes leveled up, and we even got the priciest Star Wars model

Silksong is a gorgeous, razor‑sharp Metroidvania that pushes hard and refuses to apologize. Hornet’s movement sings, the combat has bite, and Pharloom is a world
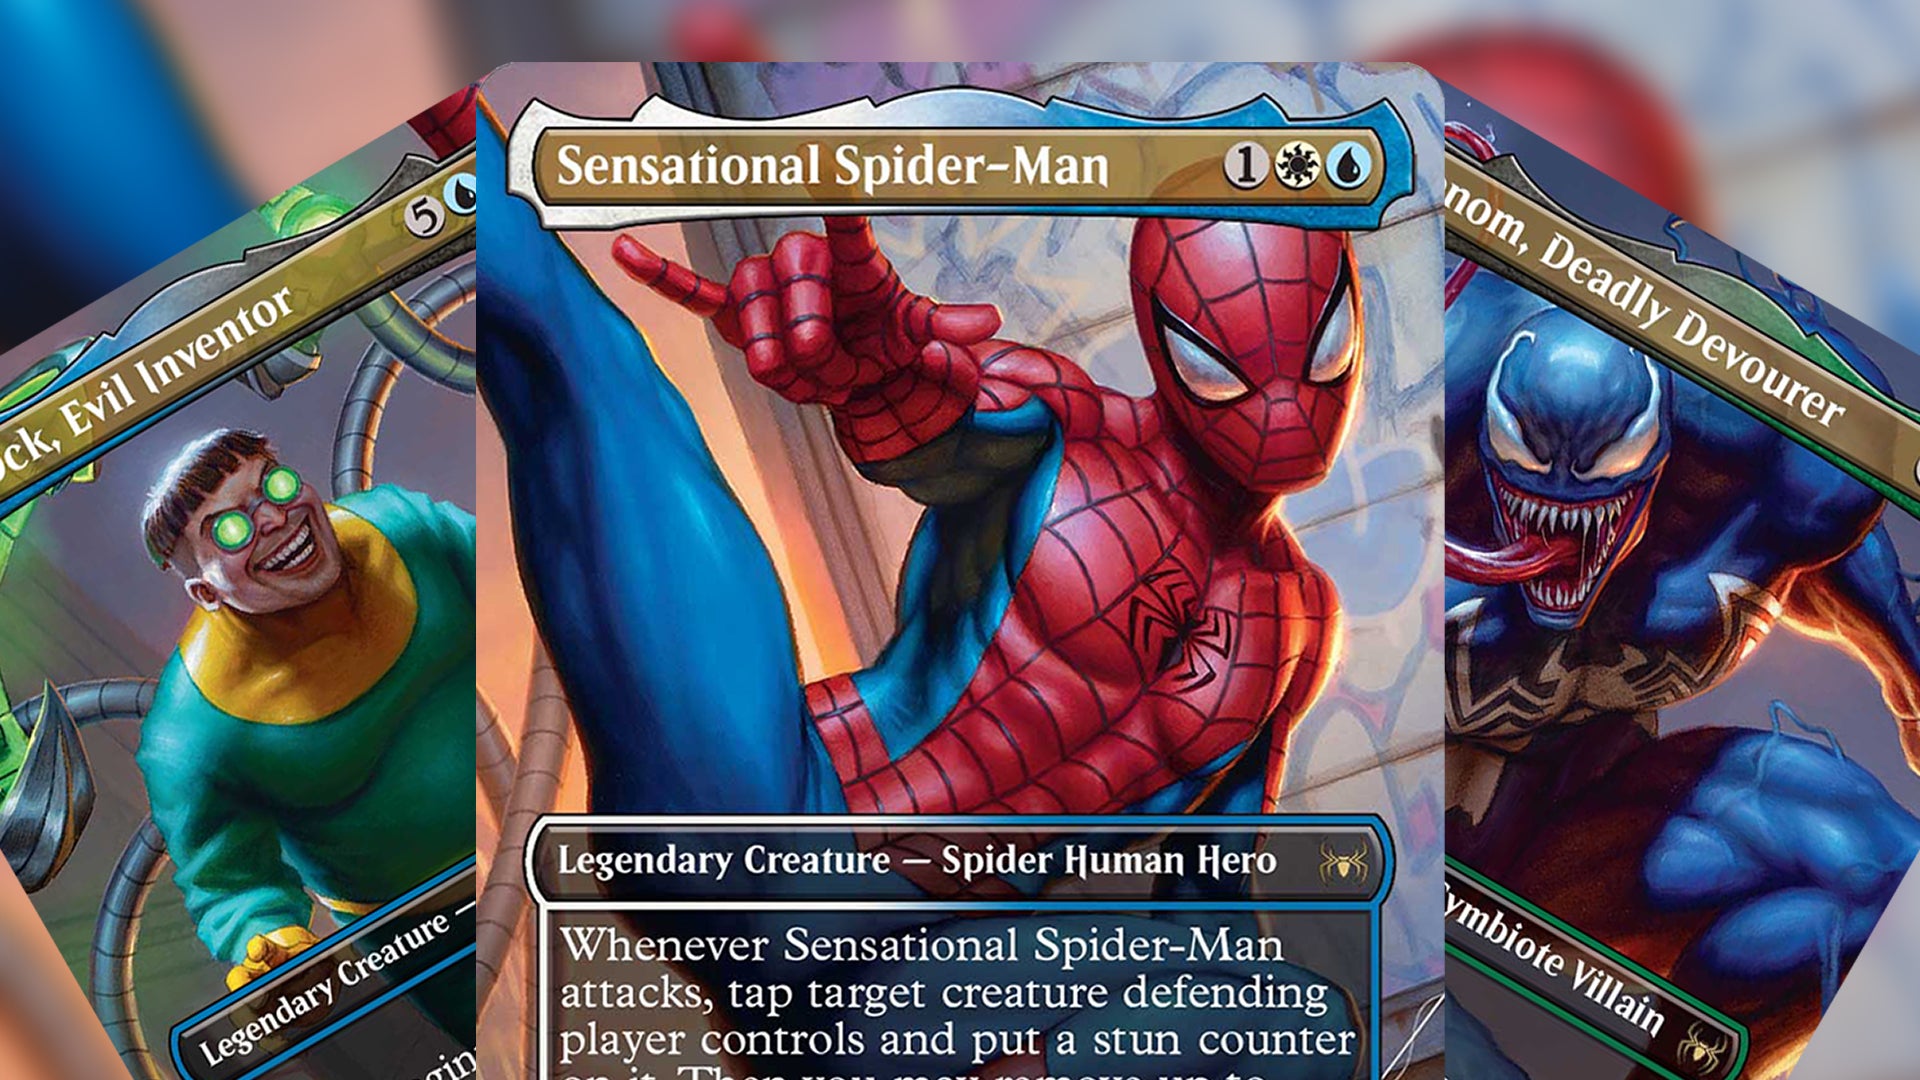
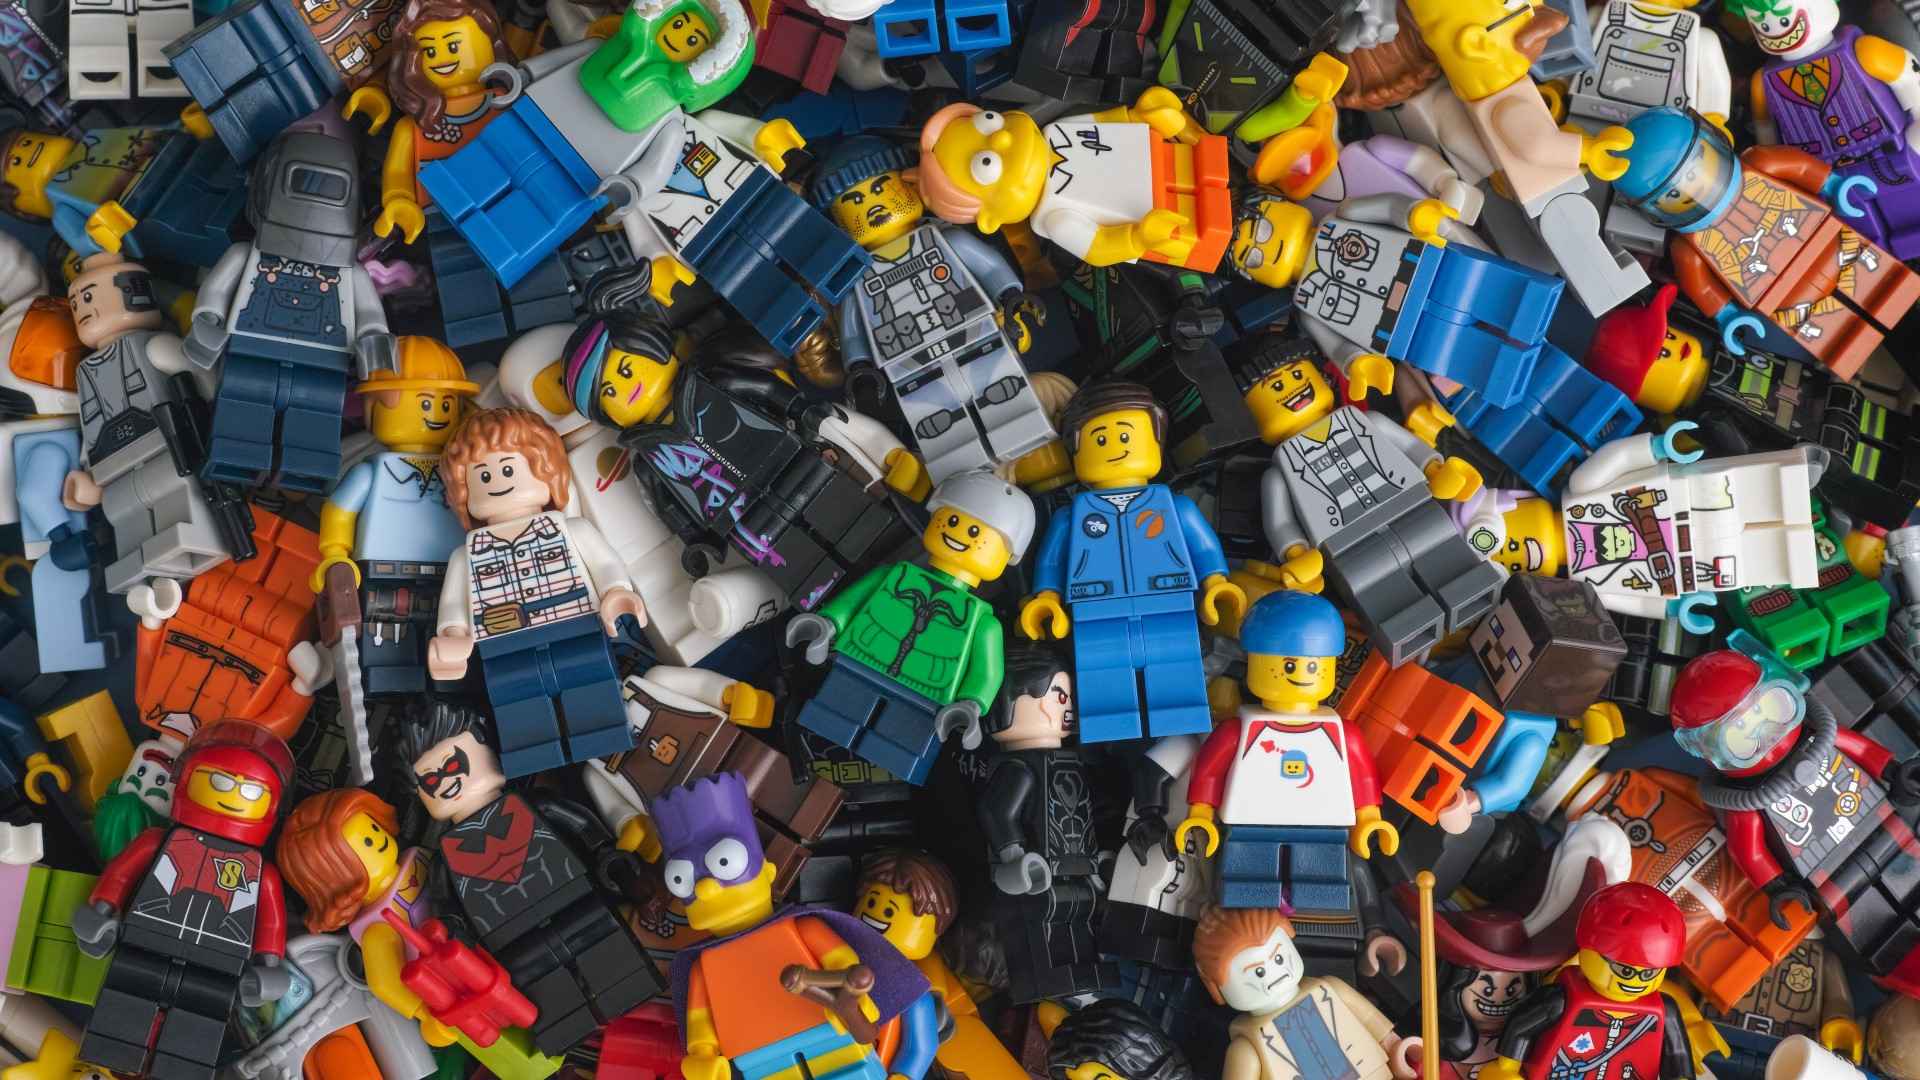
Collecting MTG cards vs collecting minifigures looks like two different worlds at first. Card sleeves and binders on one side. Studs and display cases on
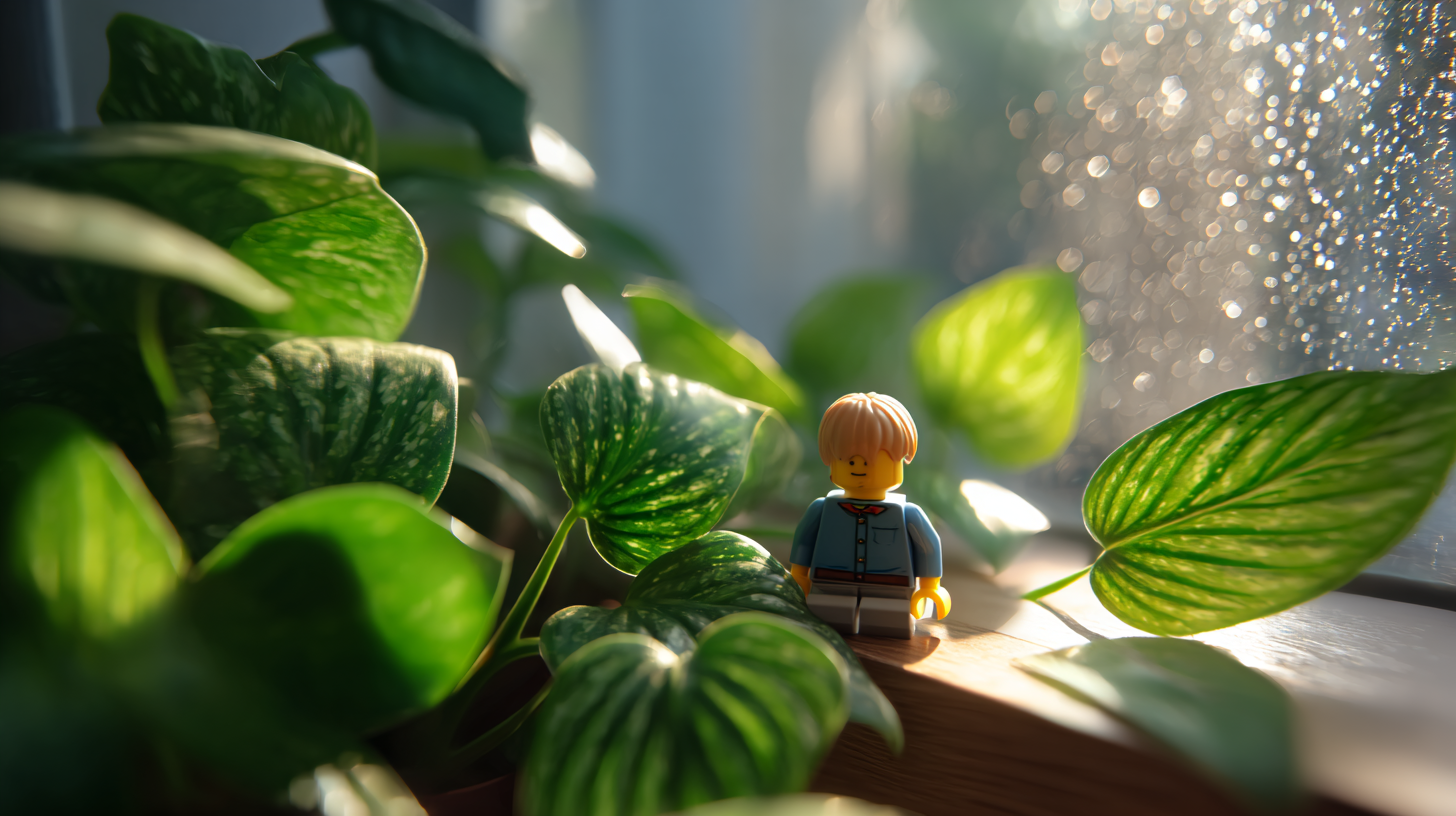
Some people carry a lucky coin. Some keep a pebble from a good trip. More and more of us carry a tiny plastic friend. A